Gate Agentic Wallet MCP Server is a Web3 wallet service built on MCP (Model Context Protocol), offering features such as Google OAuth login, wallet management, on-chain transaction signing, swap transactions, and market data queries.
1. Quick Setup
Choose your tool and enter the following command to get started:
{
  "mcpServers": {
    "gate-wallet": {
      "url": "https://api.gatemcp.ai/mcp/wallet",
      "headers": {
        "x-api-key": "MCP_AK_8W2N7Q",
        "Authorization": "Bearer <your_mcp_token>"
      }
    }
  }
}
After connecting, simply log in to your wallet to automatically obtain your .
2. Example: Adding Gate Wallet MCP in Cursor
2.1 Add Gate Wallet MCP server
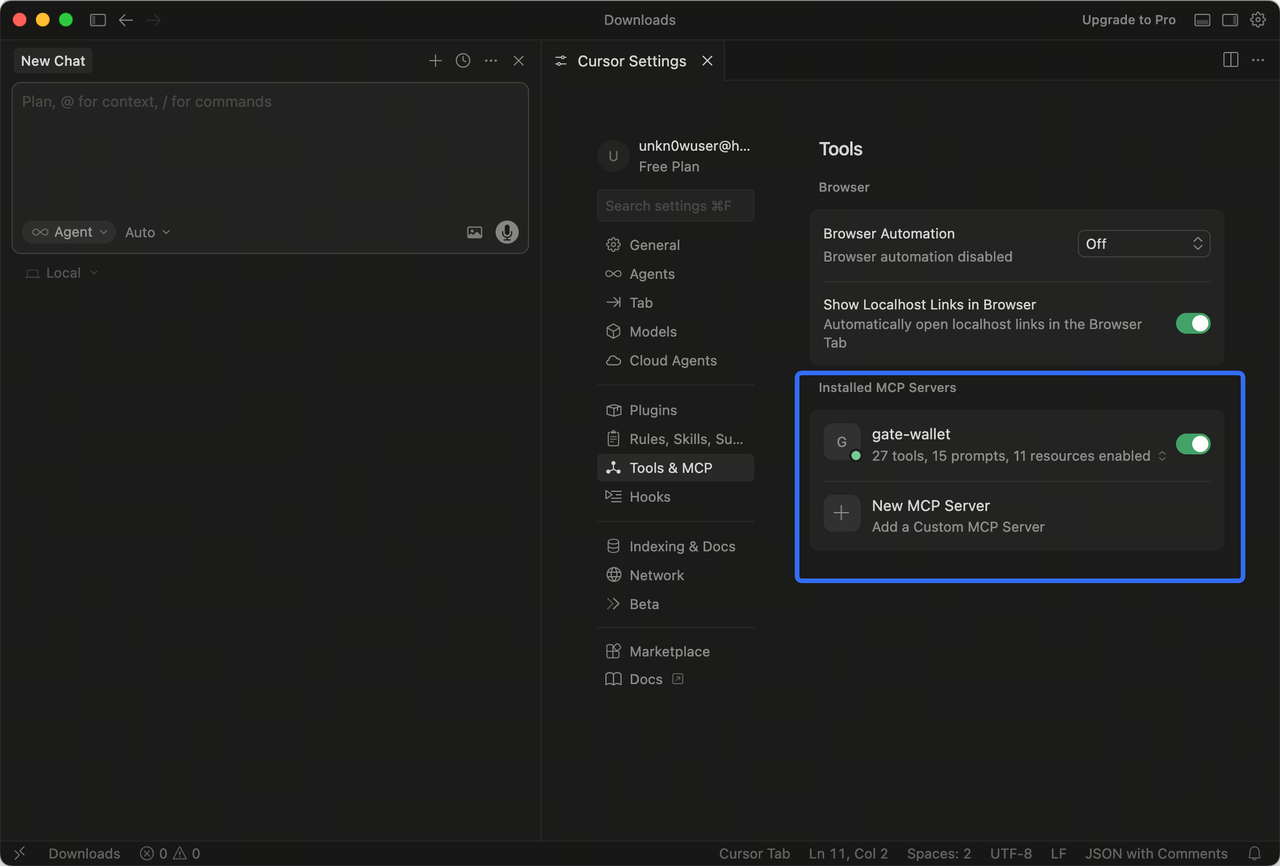
- Go to the top right gear icon - Settings - select Tools&MCP - Add Custom MCP;
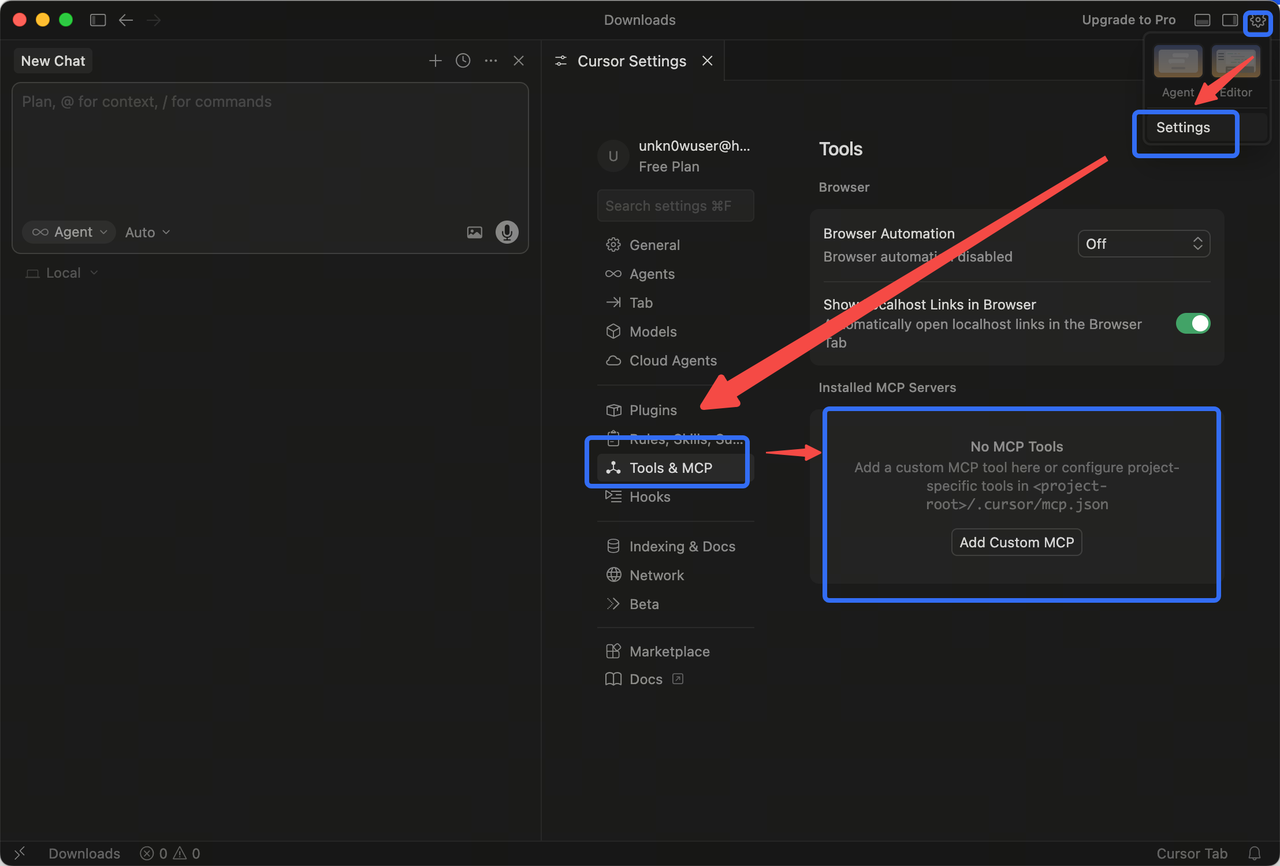
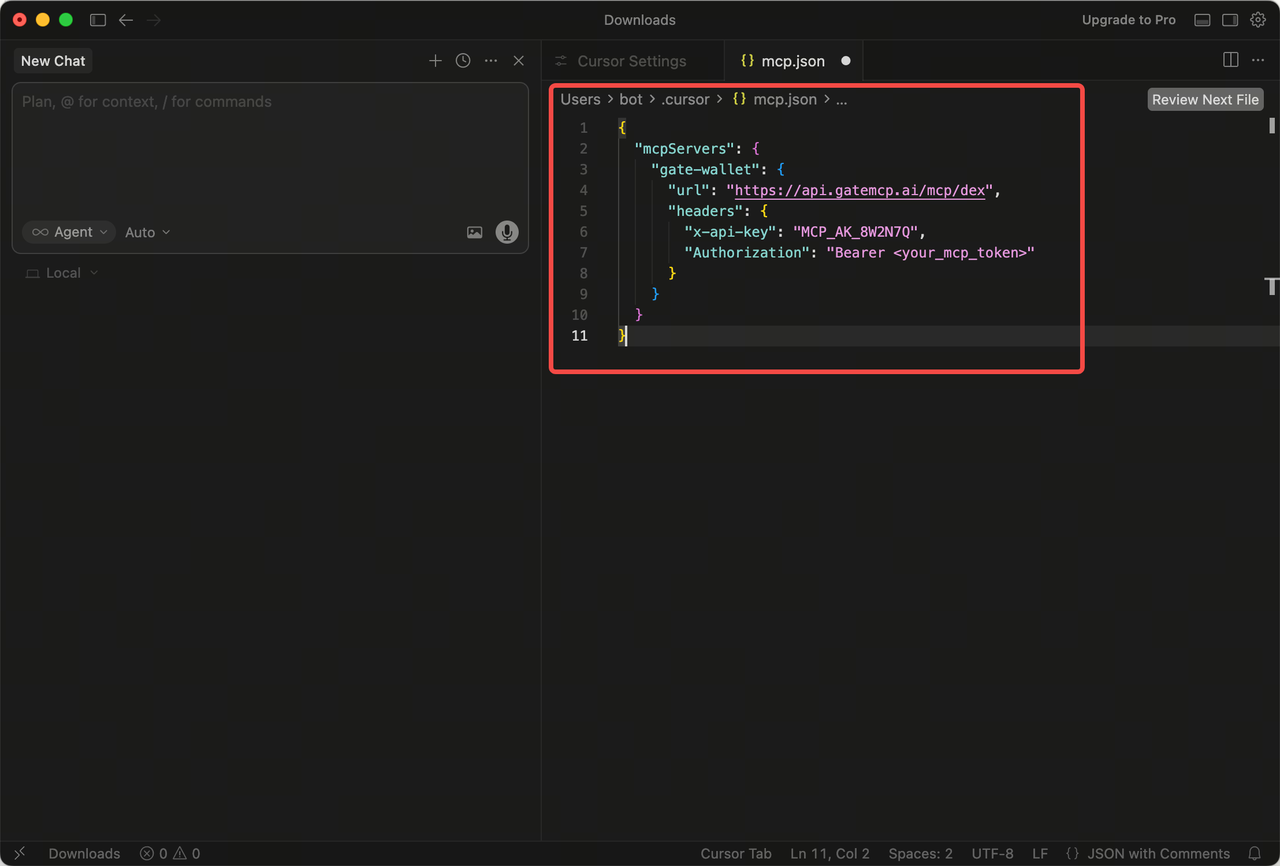
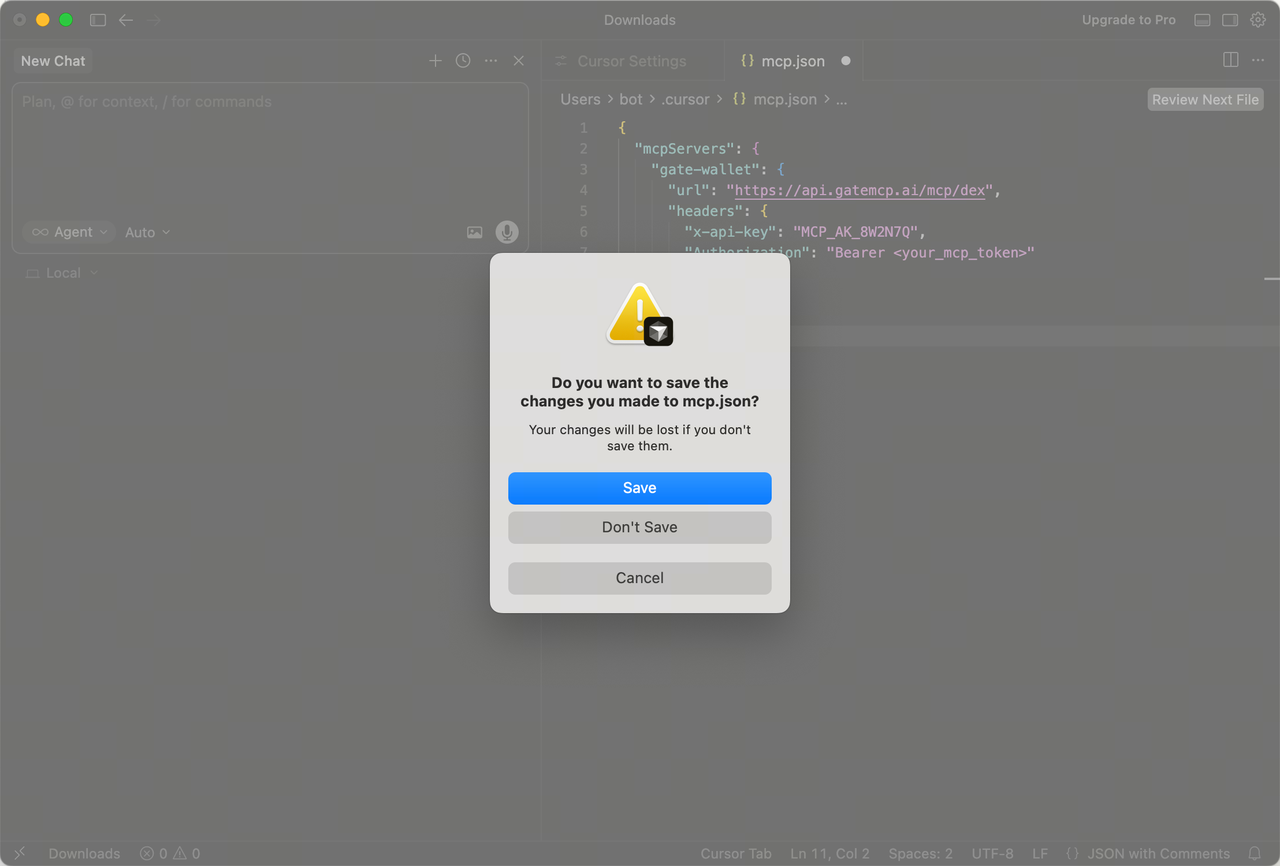
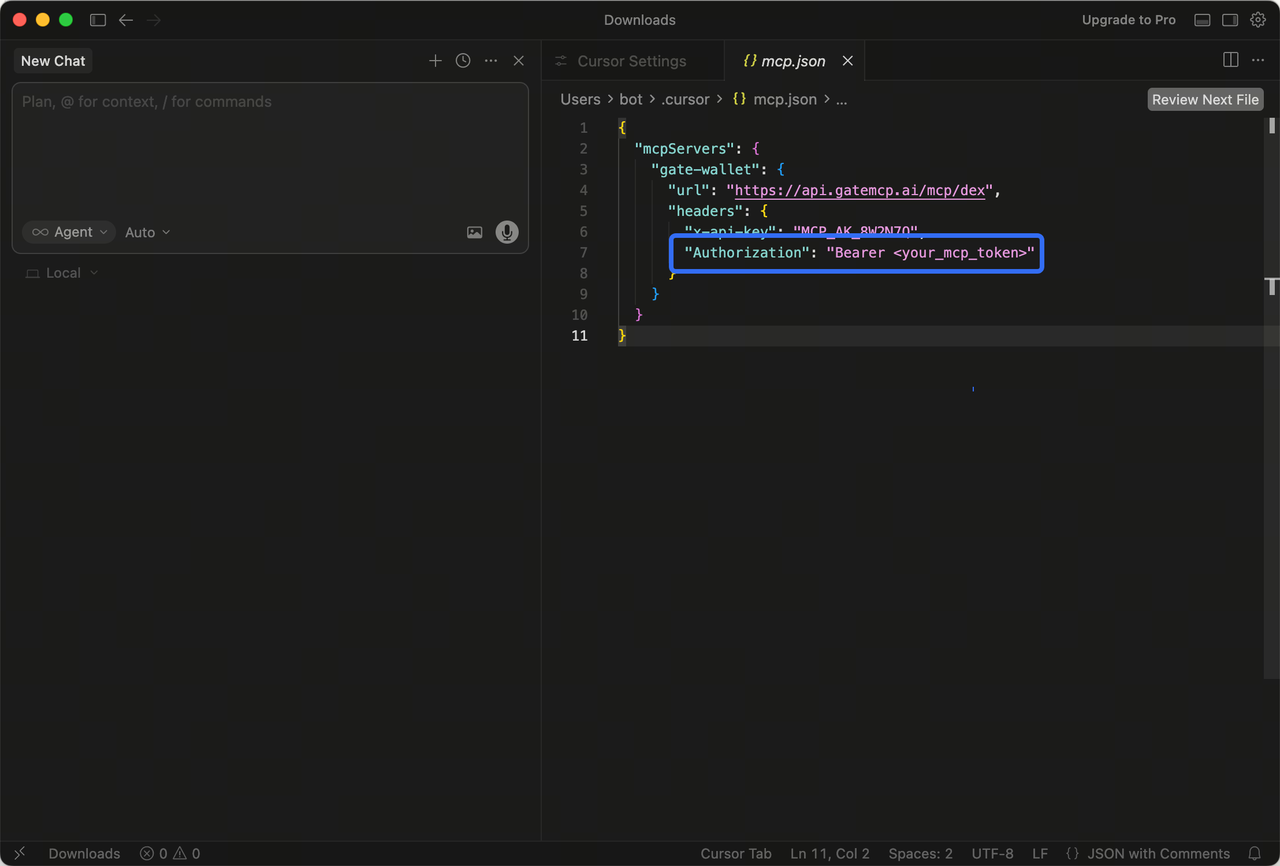
- In the window that opens, configure the Gate Wallet MCP JSON file. Copy the code below into Cursor's JSON and save it. //Make sure to save, otherwise the configuration data will not be loaded.
{
"mcpServers": {
  "gate-wallet": {
    "url": "https://api.gatemcp.ai/mcp/dex",
    "headers": {
      "x-api-key": "MCP_AK_8W2N7Q",
      "Authorization": "Bearer <your_mcp_token>"
    }
  }
}
}
- Go back to the Tools&MCP configuration, and you’ll see gate-wallet appear in the installed MCP list (with 27 tools, 15 prompts, and 11 resources available). //You can check the MCP connection status—a green dot means connected, yellow and red indicate an issue.
2.2 First-Time Google Authorization
- In the left chat window, enter:
auth.google_login_start/ Get Google authorization link for Gate Wallet; //Either option works—Cursor can recognize and execute both. Here, we'll use "Get gate wallet Google authorization link" as an example.
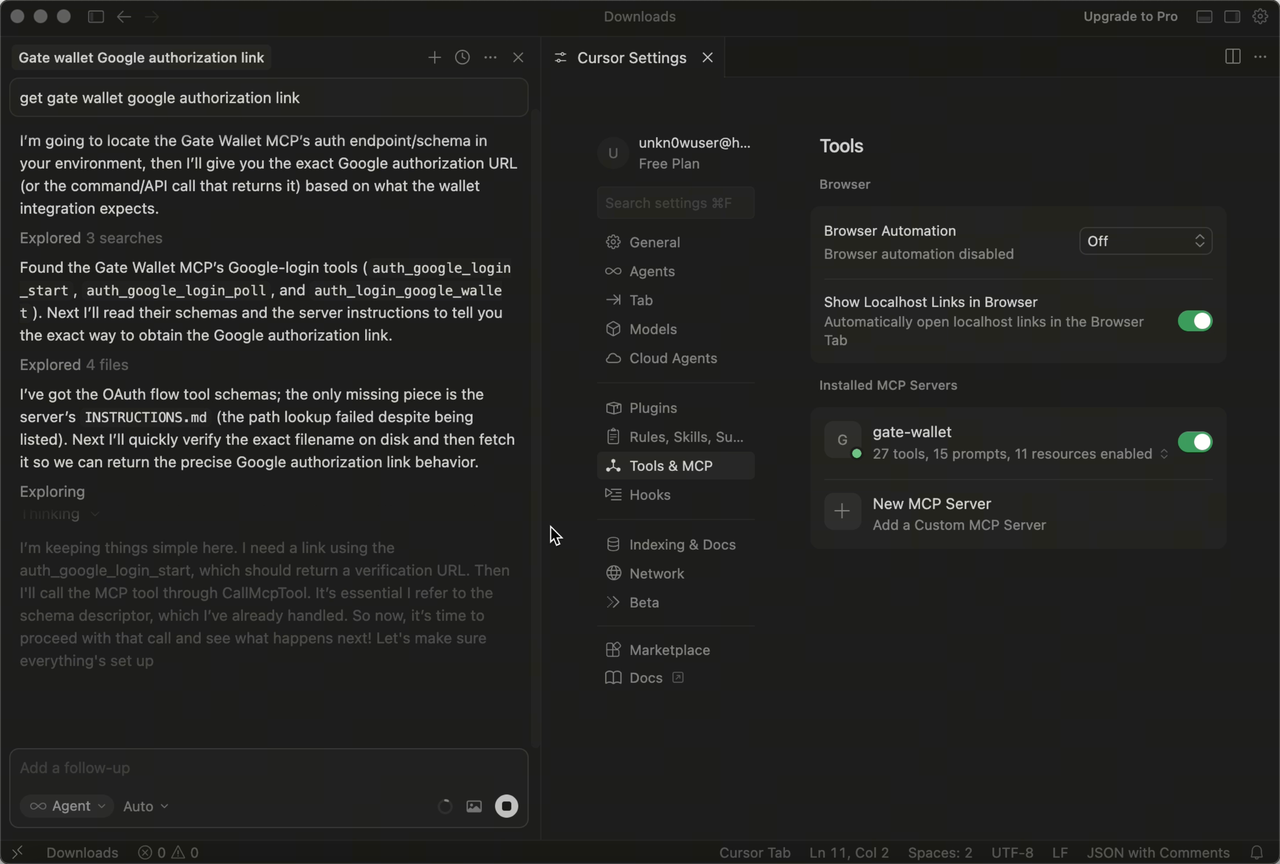
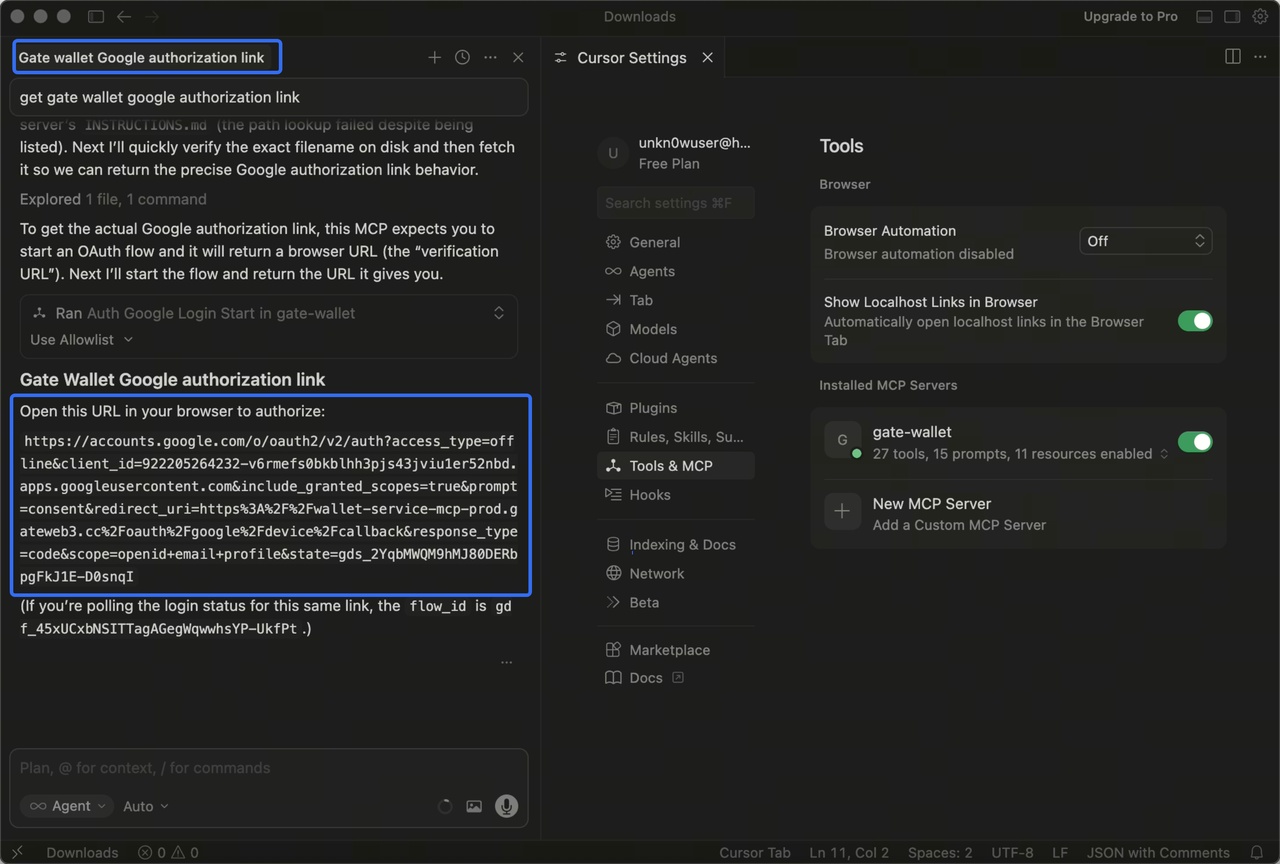
- Wait for Cursor to parse and execute the command. Once done, a Google authorization login will pop up with a URL. If it doesn’t pop up automatically, copy the URL and open it in your browser.
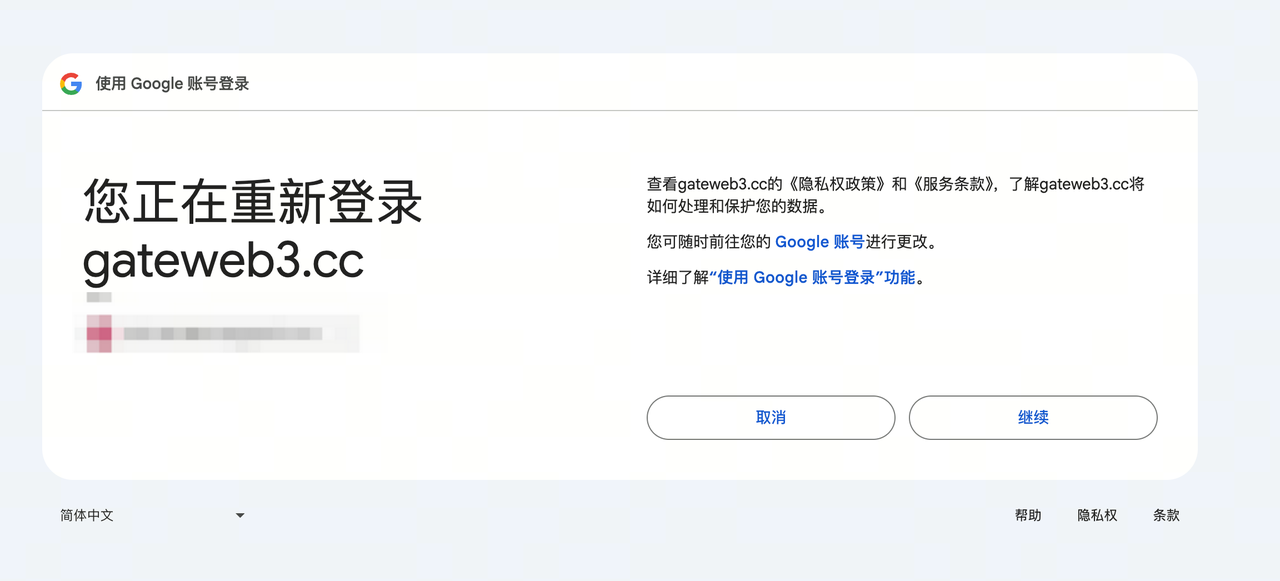
- Google will automatically open in your browser to complete account authorization.
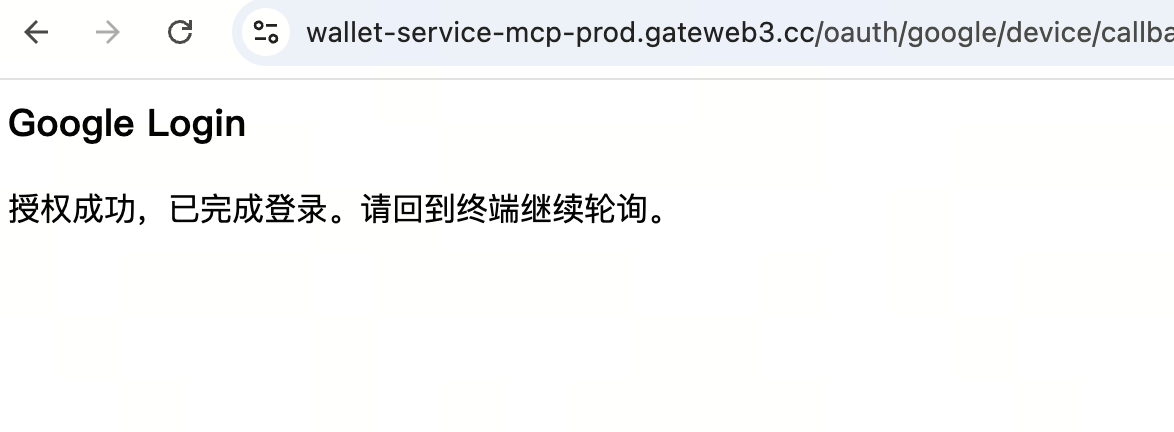
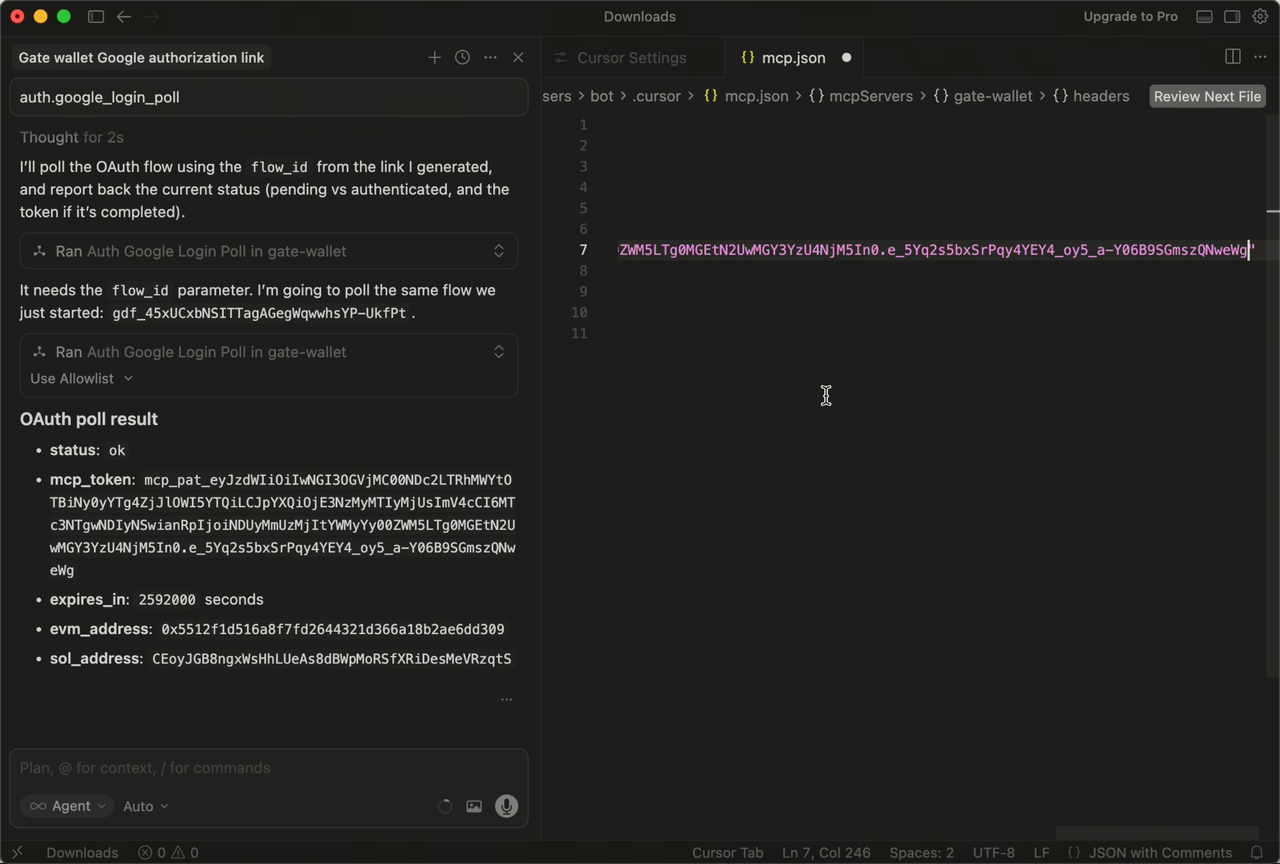
- After completing Google authorization, return to Cursor and continue by entering the command
auth.google_login_pollin chat. Cursor will call and return the mpc_token, which will be configured automatically. If it fails, copy the mcp_token to your clipboard.

- [Manual mpc_token configuration] Open the JSON file for the gate-wallet MCP configuration. //In Tools&MCP, hover over the installed gate-wallet MCP and click the edit button that appears to open the gate-wallet JSON configuration window.

- [Manual mpc_token configuration] Replace the content inside Bearer in the configuration file with the mcp_token you copied in the previous step, then save.
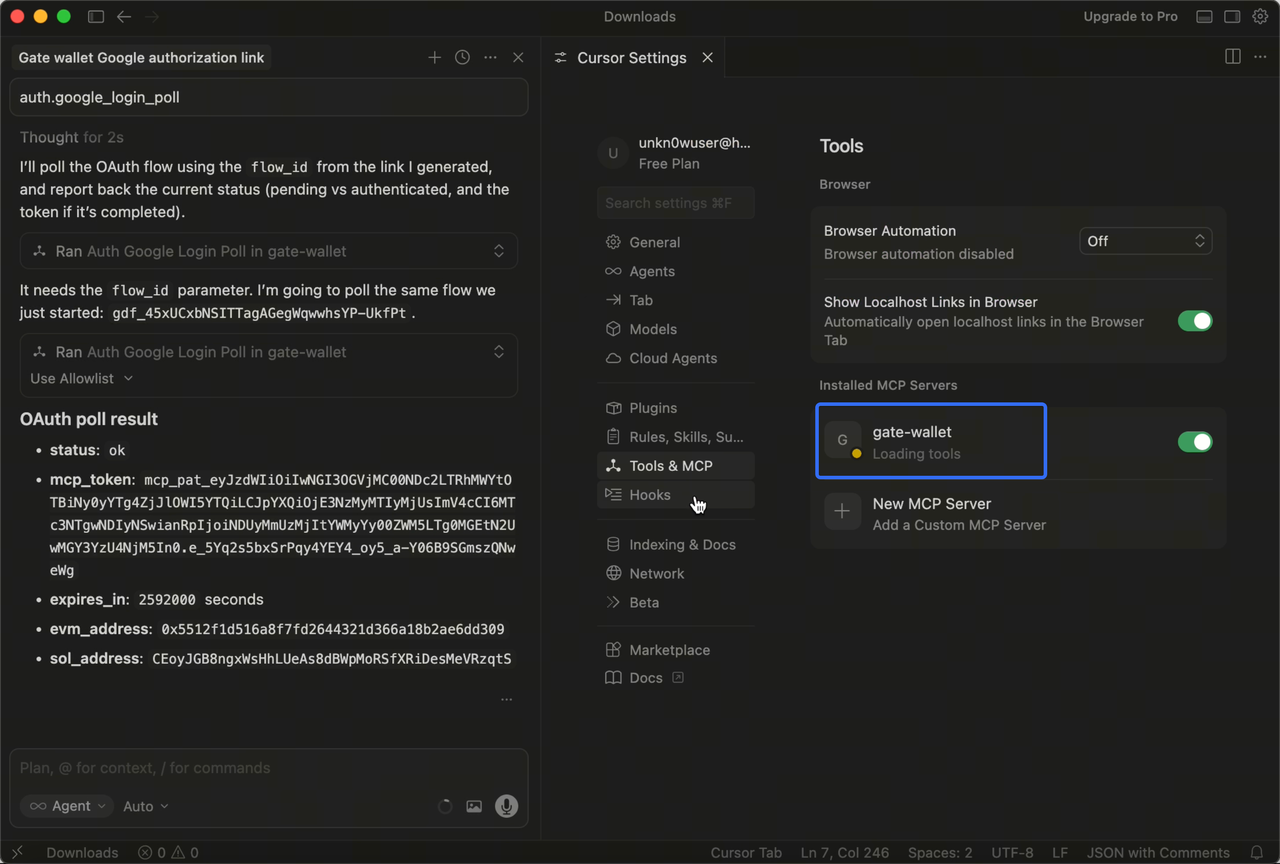
- Go back to Tools&MCP, and the installed gate-wallet MCP will reload tools. Wait for it to finish loading and turn green—this means the gate-wallet MCP configuration is complete.
3. Using gate-wallet MCP Features
You can use gate-wallet MCP features directly in Cursor. This article lists some functions; for more details, visit https://github.com/gate/gate-mcp
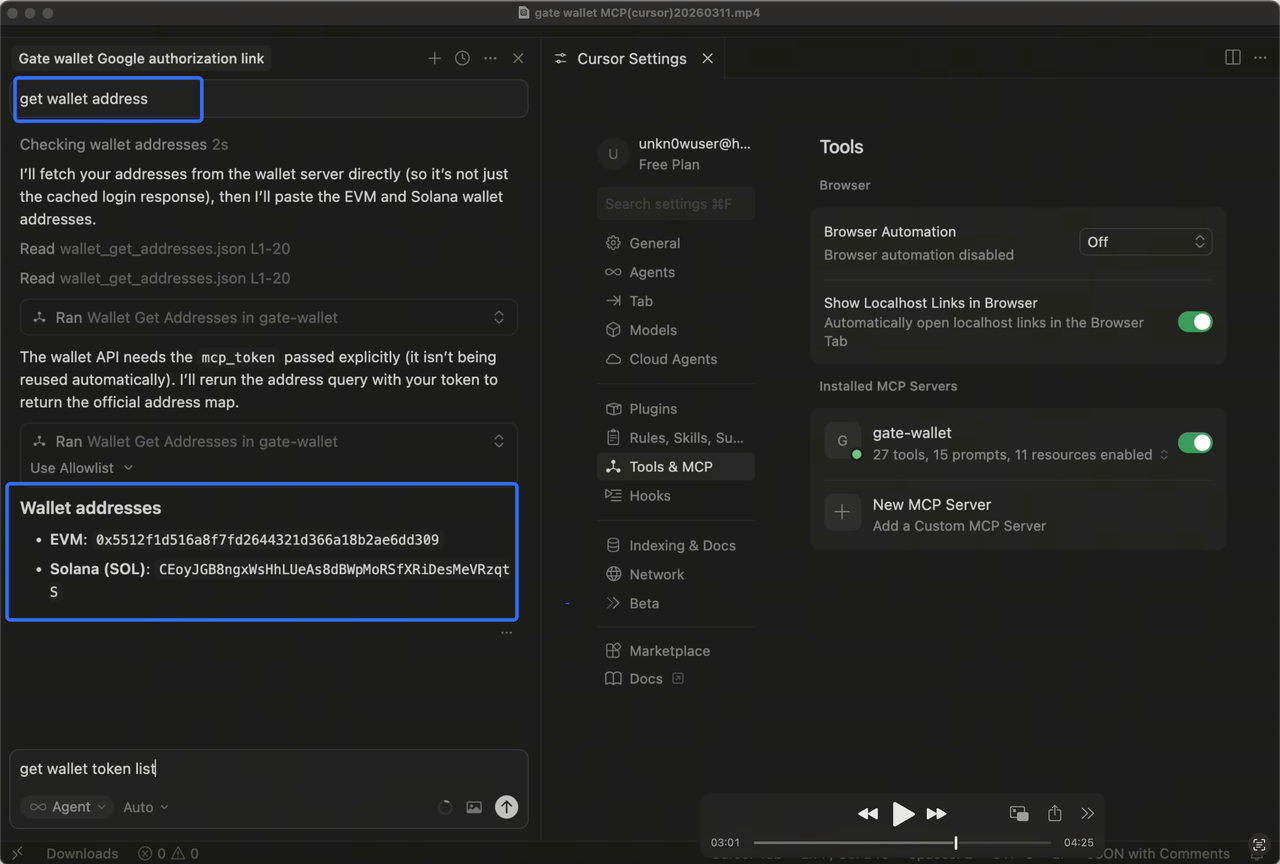
3.1 Get Wallet Address
- In Cursor chat, enter: get wallet address (or similar commands like “view wallet address”) to display the current wallet’s EVM and SOL addresses.
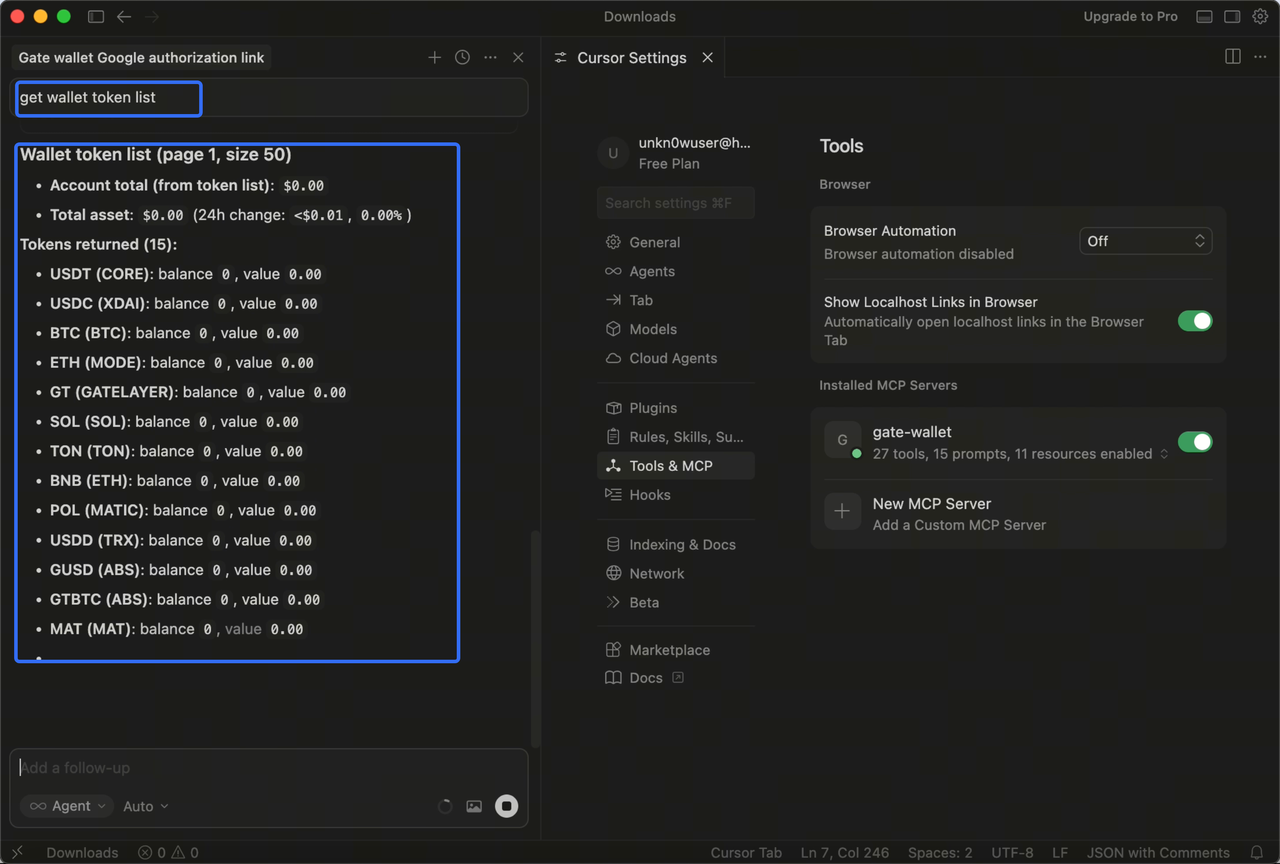
3.2 Get Token Balances
- In Cursor chat, enter: get wallet token list (or similar commands like “view wallet assets”) to display information about assets held in the current wallet.